Latest Entries »

New Prototypes

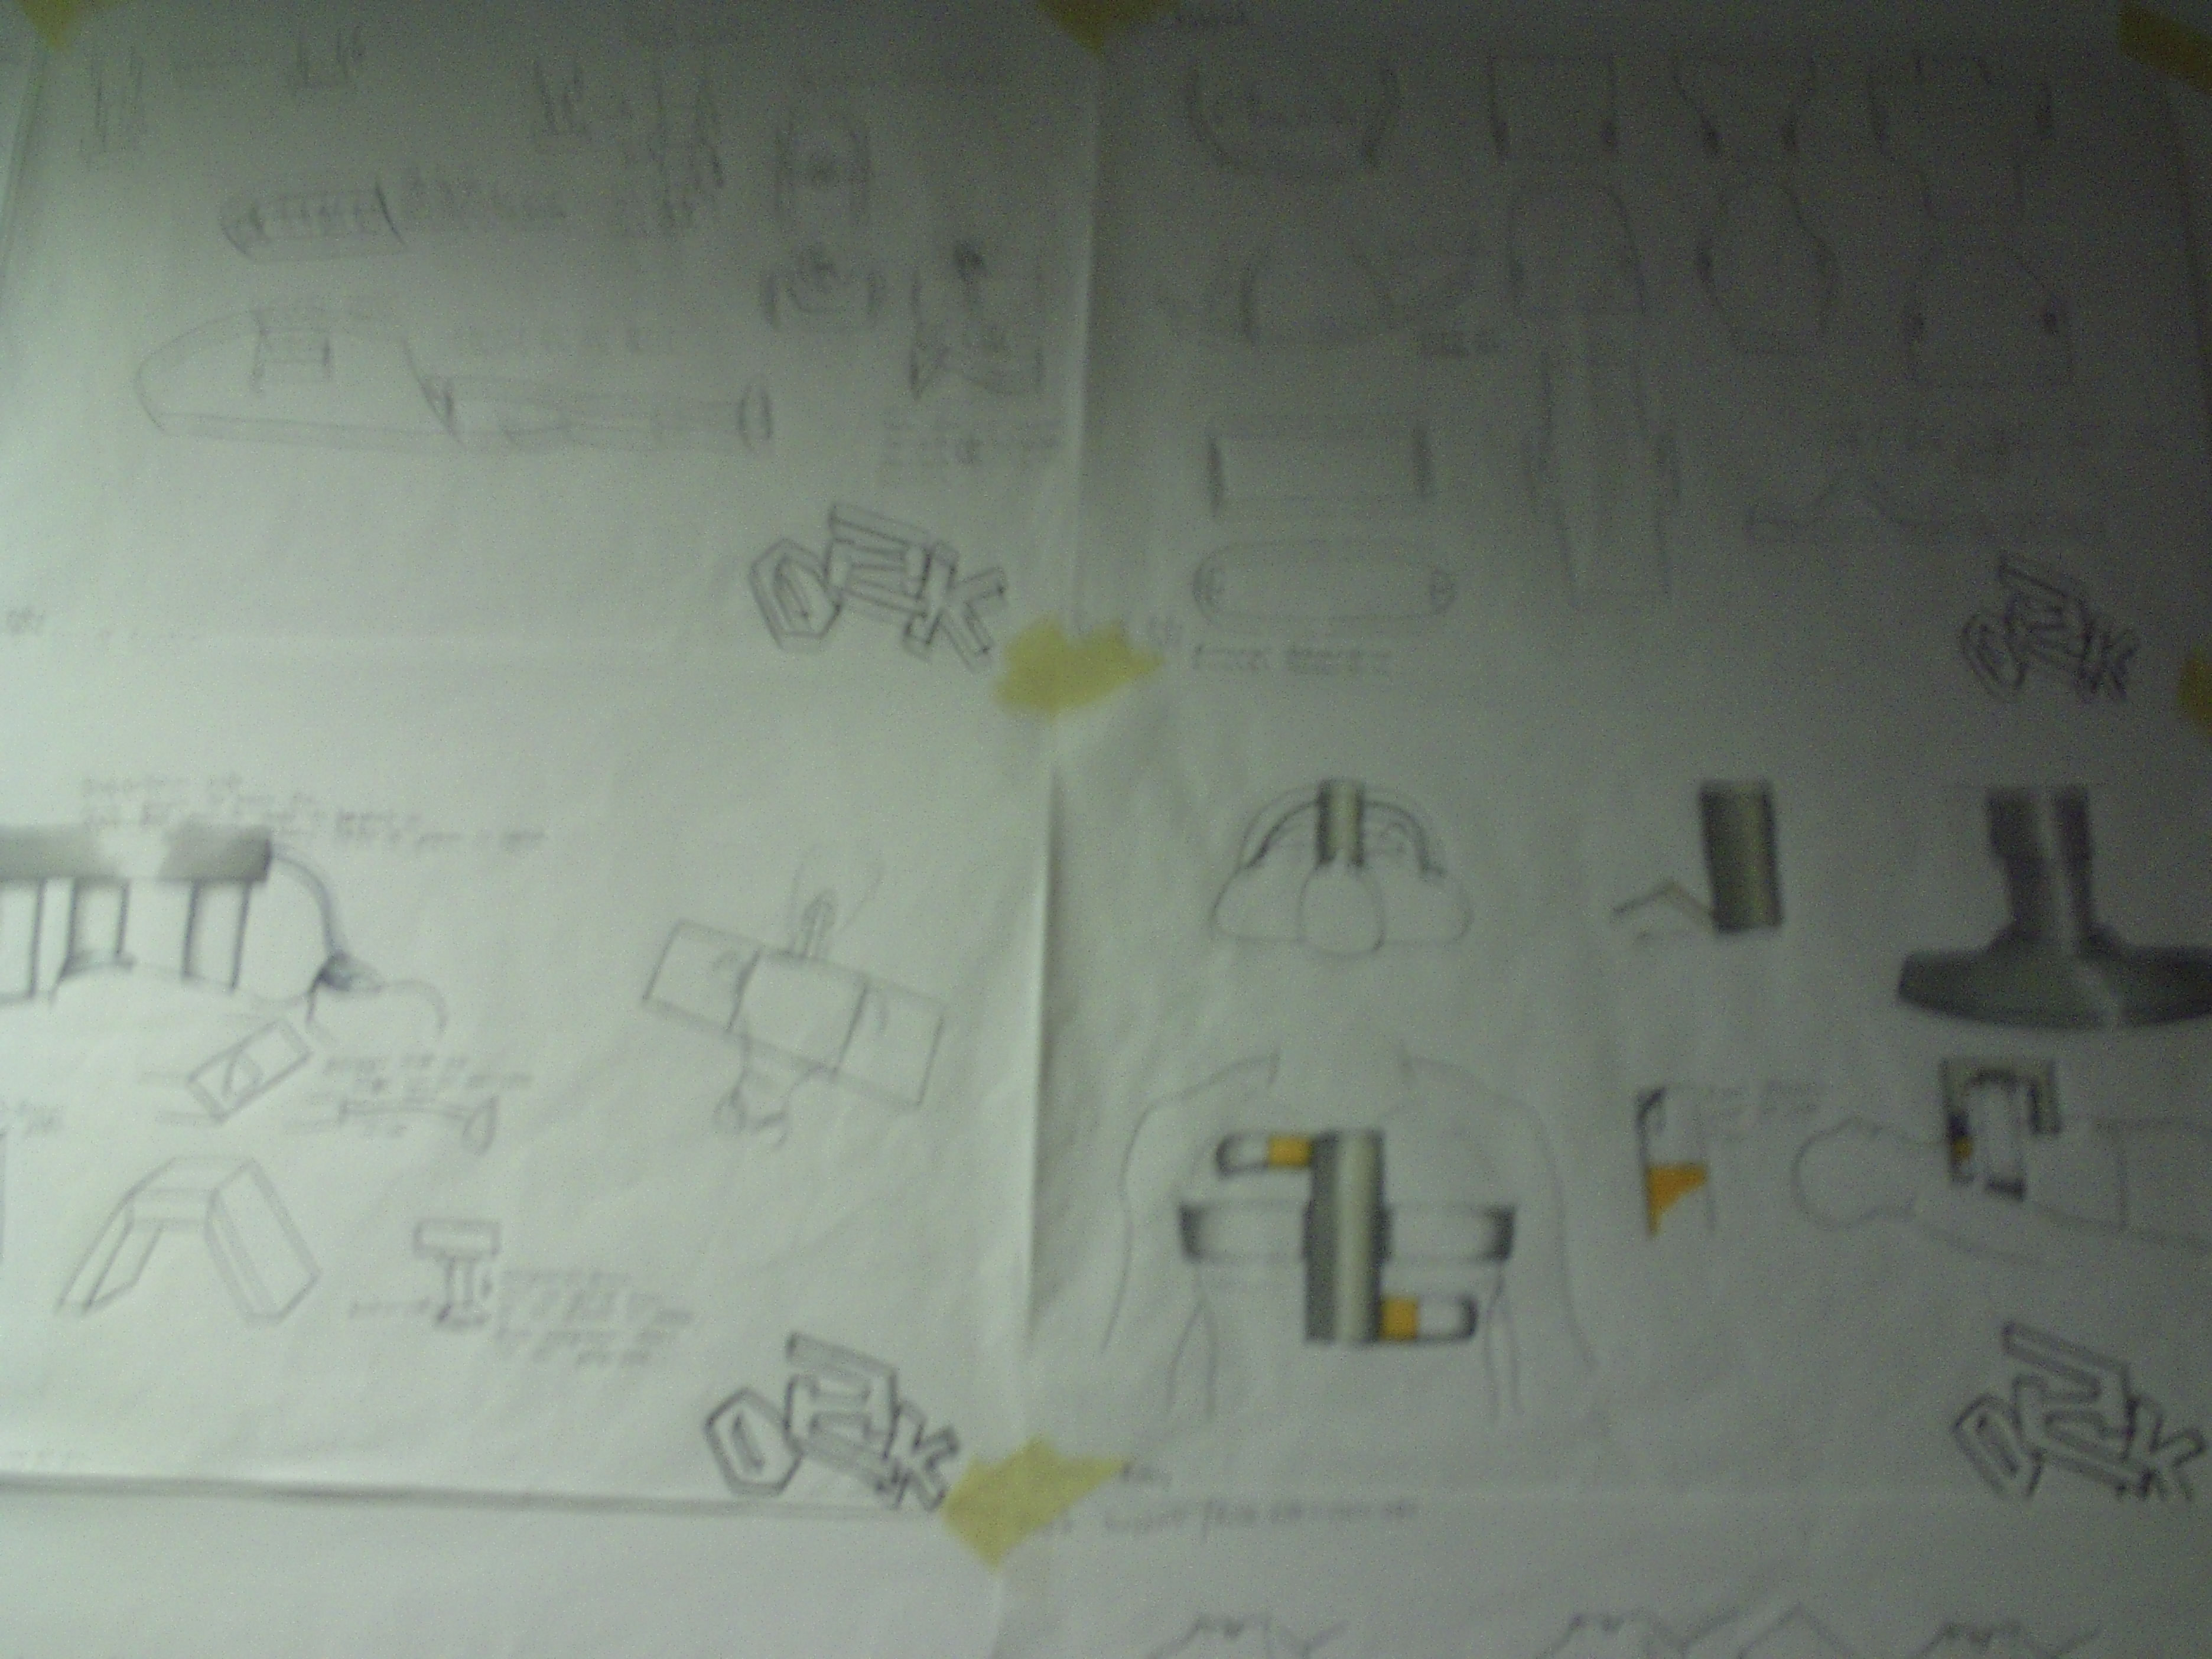
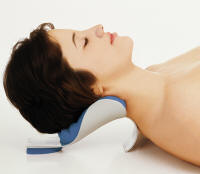
After our protoype presentation on coming back after the christmas I was happy with the feedback I received and knew that I was now on the right track. But, I knew that I had to design a backboard to strap the compression system to. I wanted to avoid this as this would add extra problems to overcome in weight and getting the casualty onto it. I also, had to redesign the headrest so that it could work with the backrest. So now I had to build new prototypes. I came up with a folding method so that it would take up less space as this back rest was going to be big.

 Image Image

Image

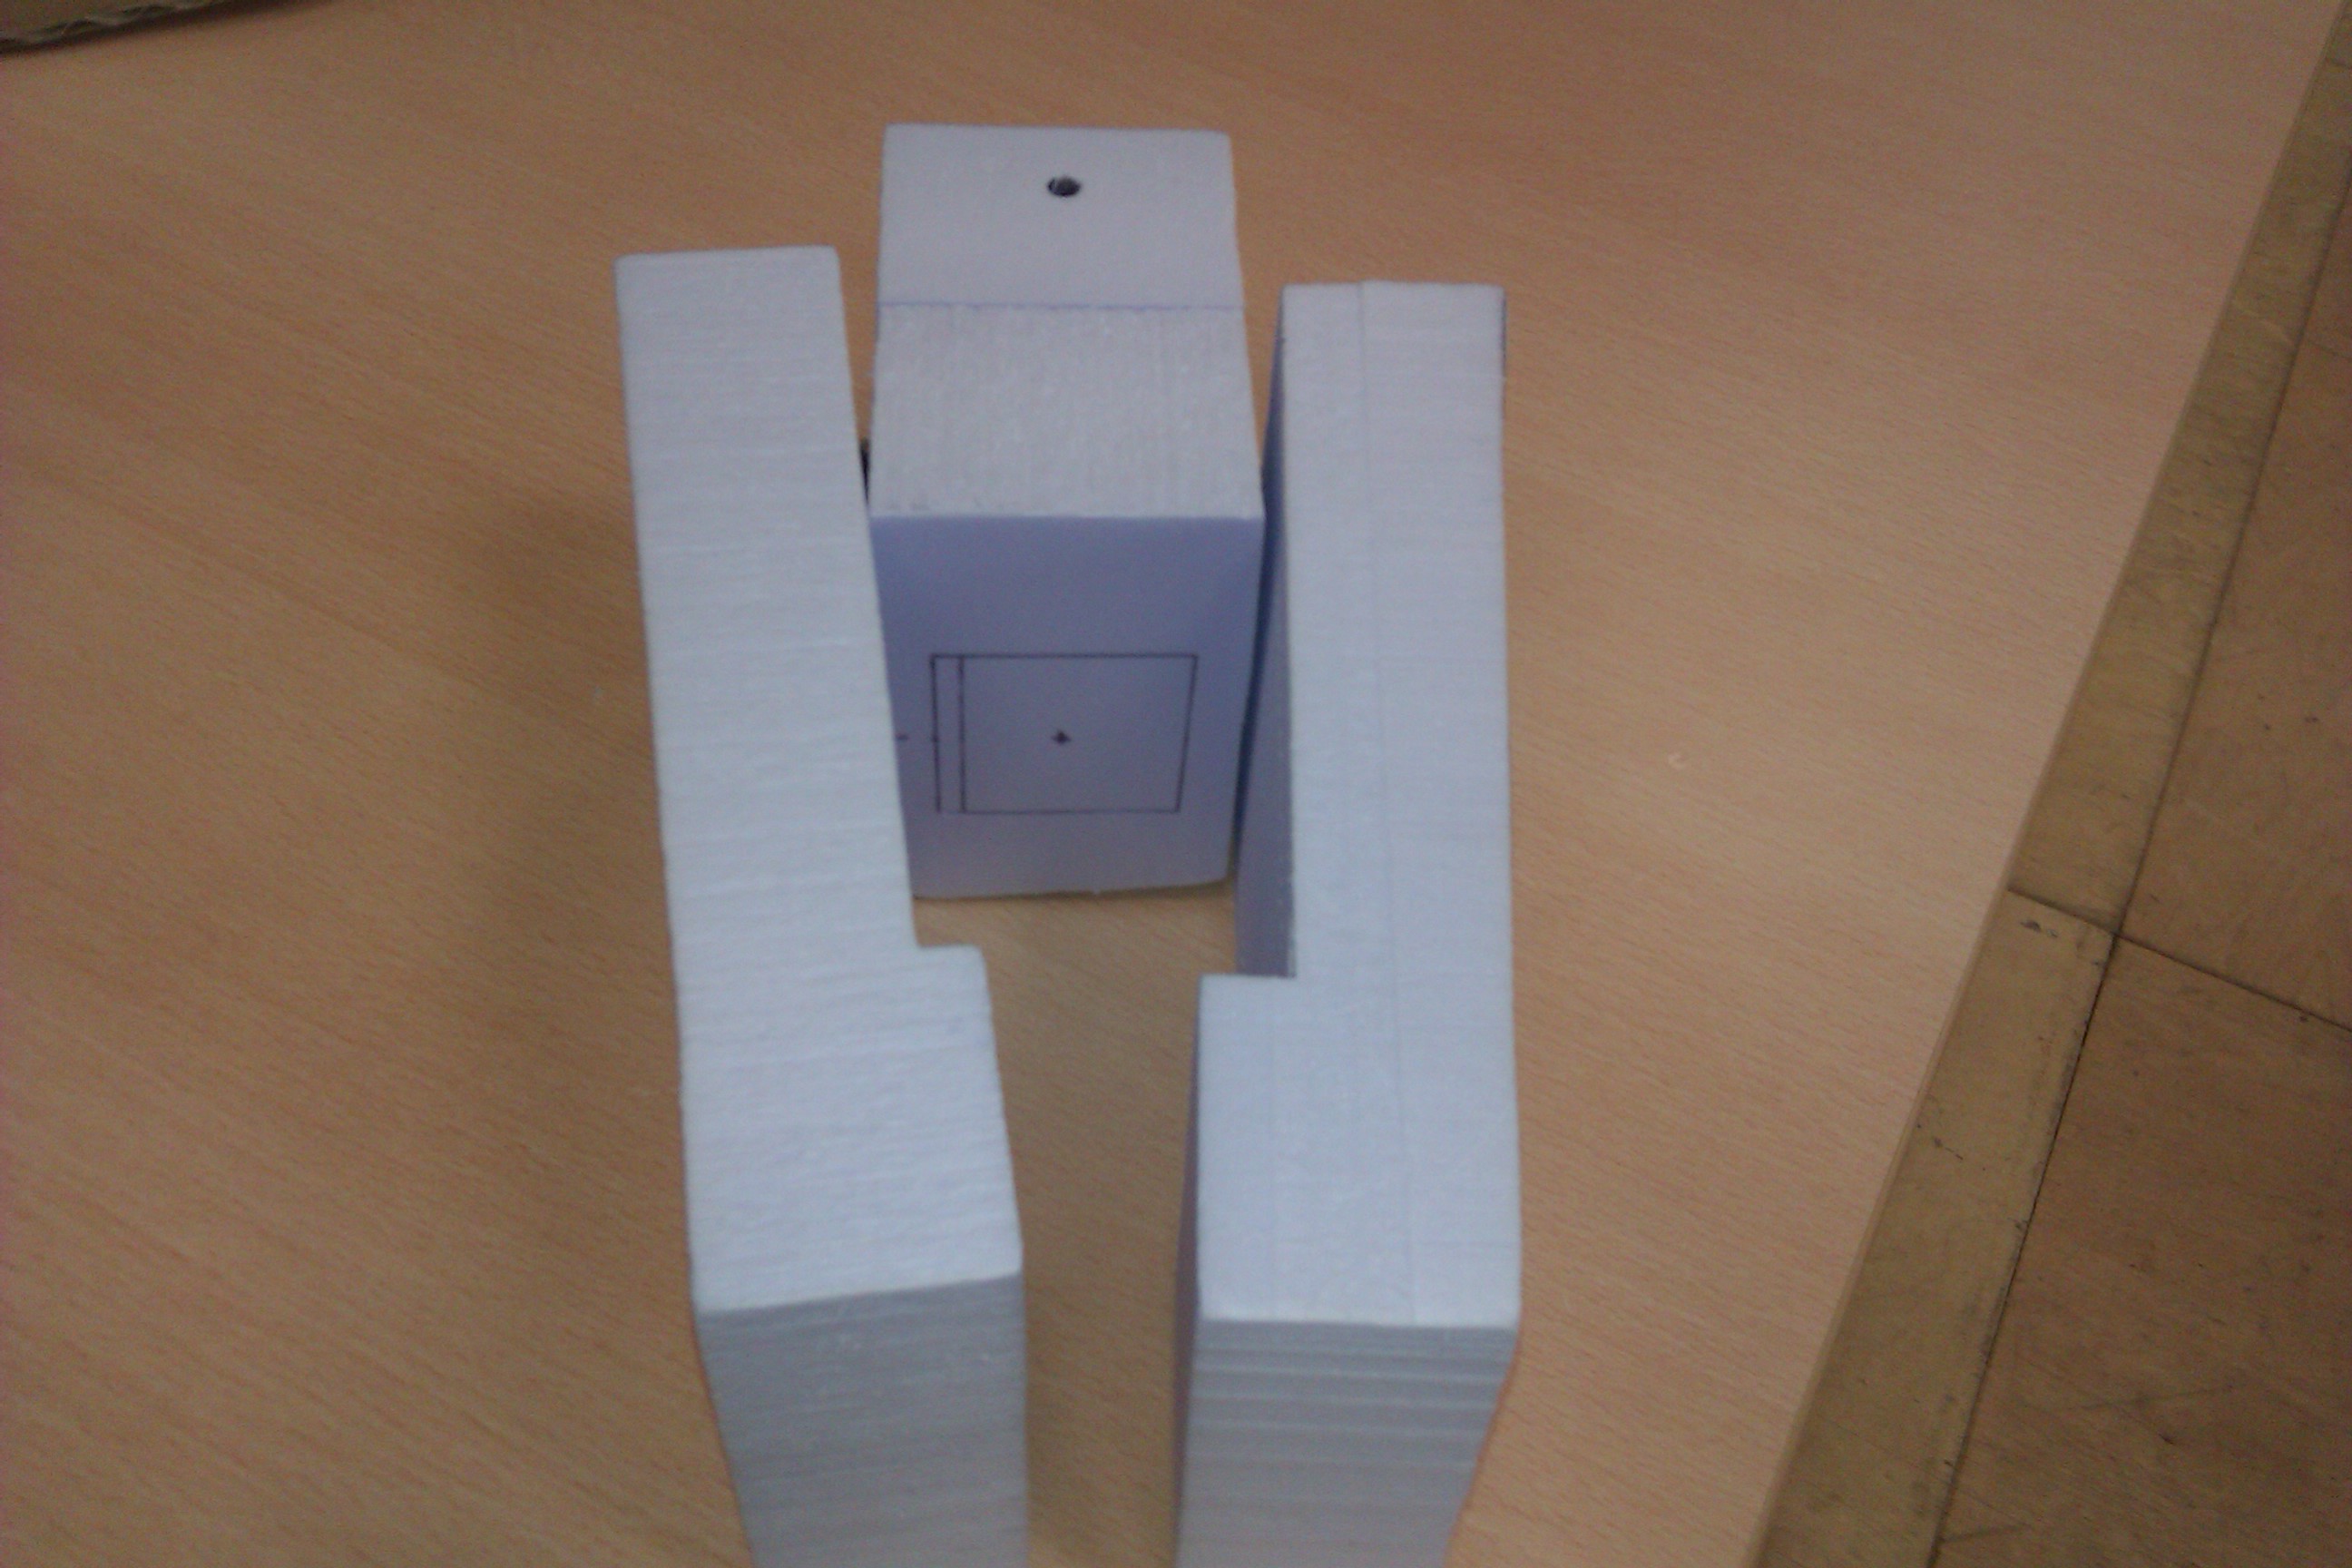
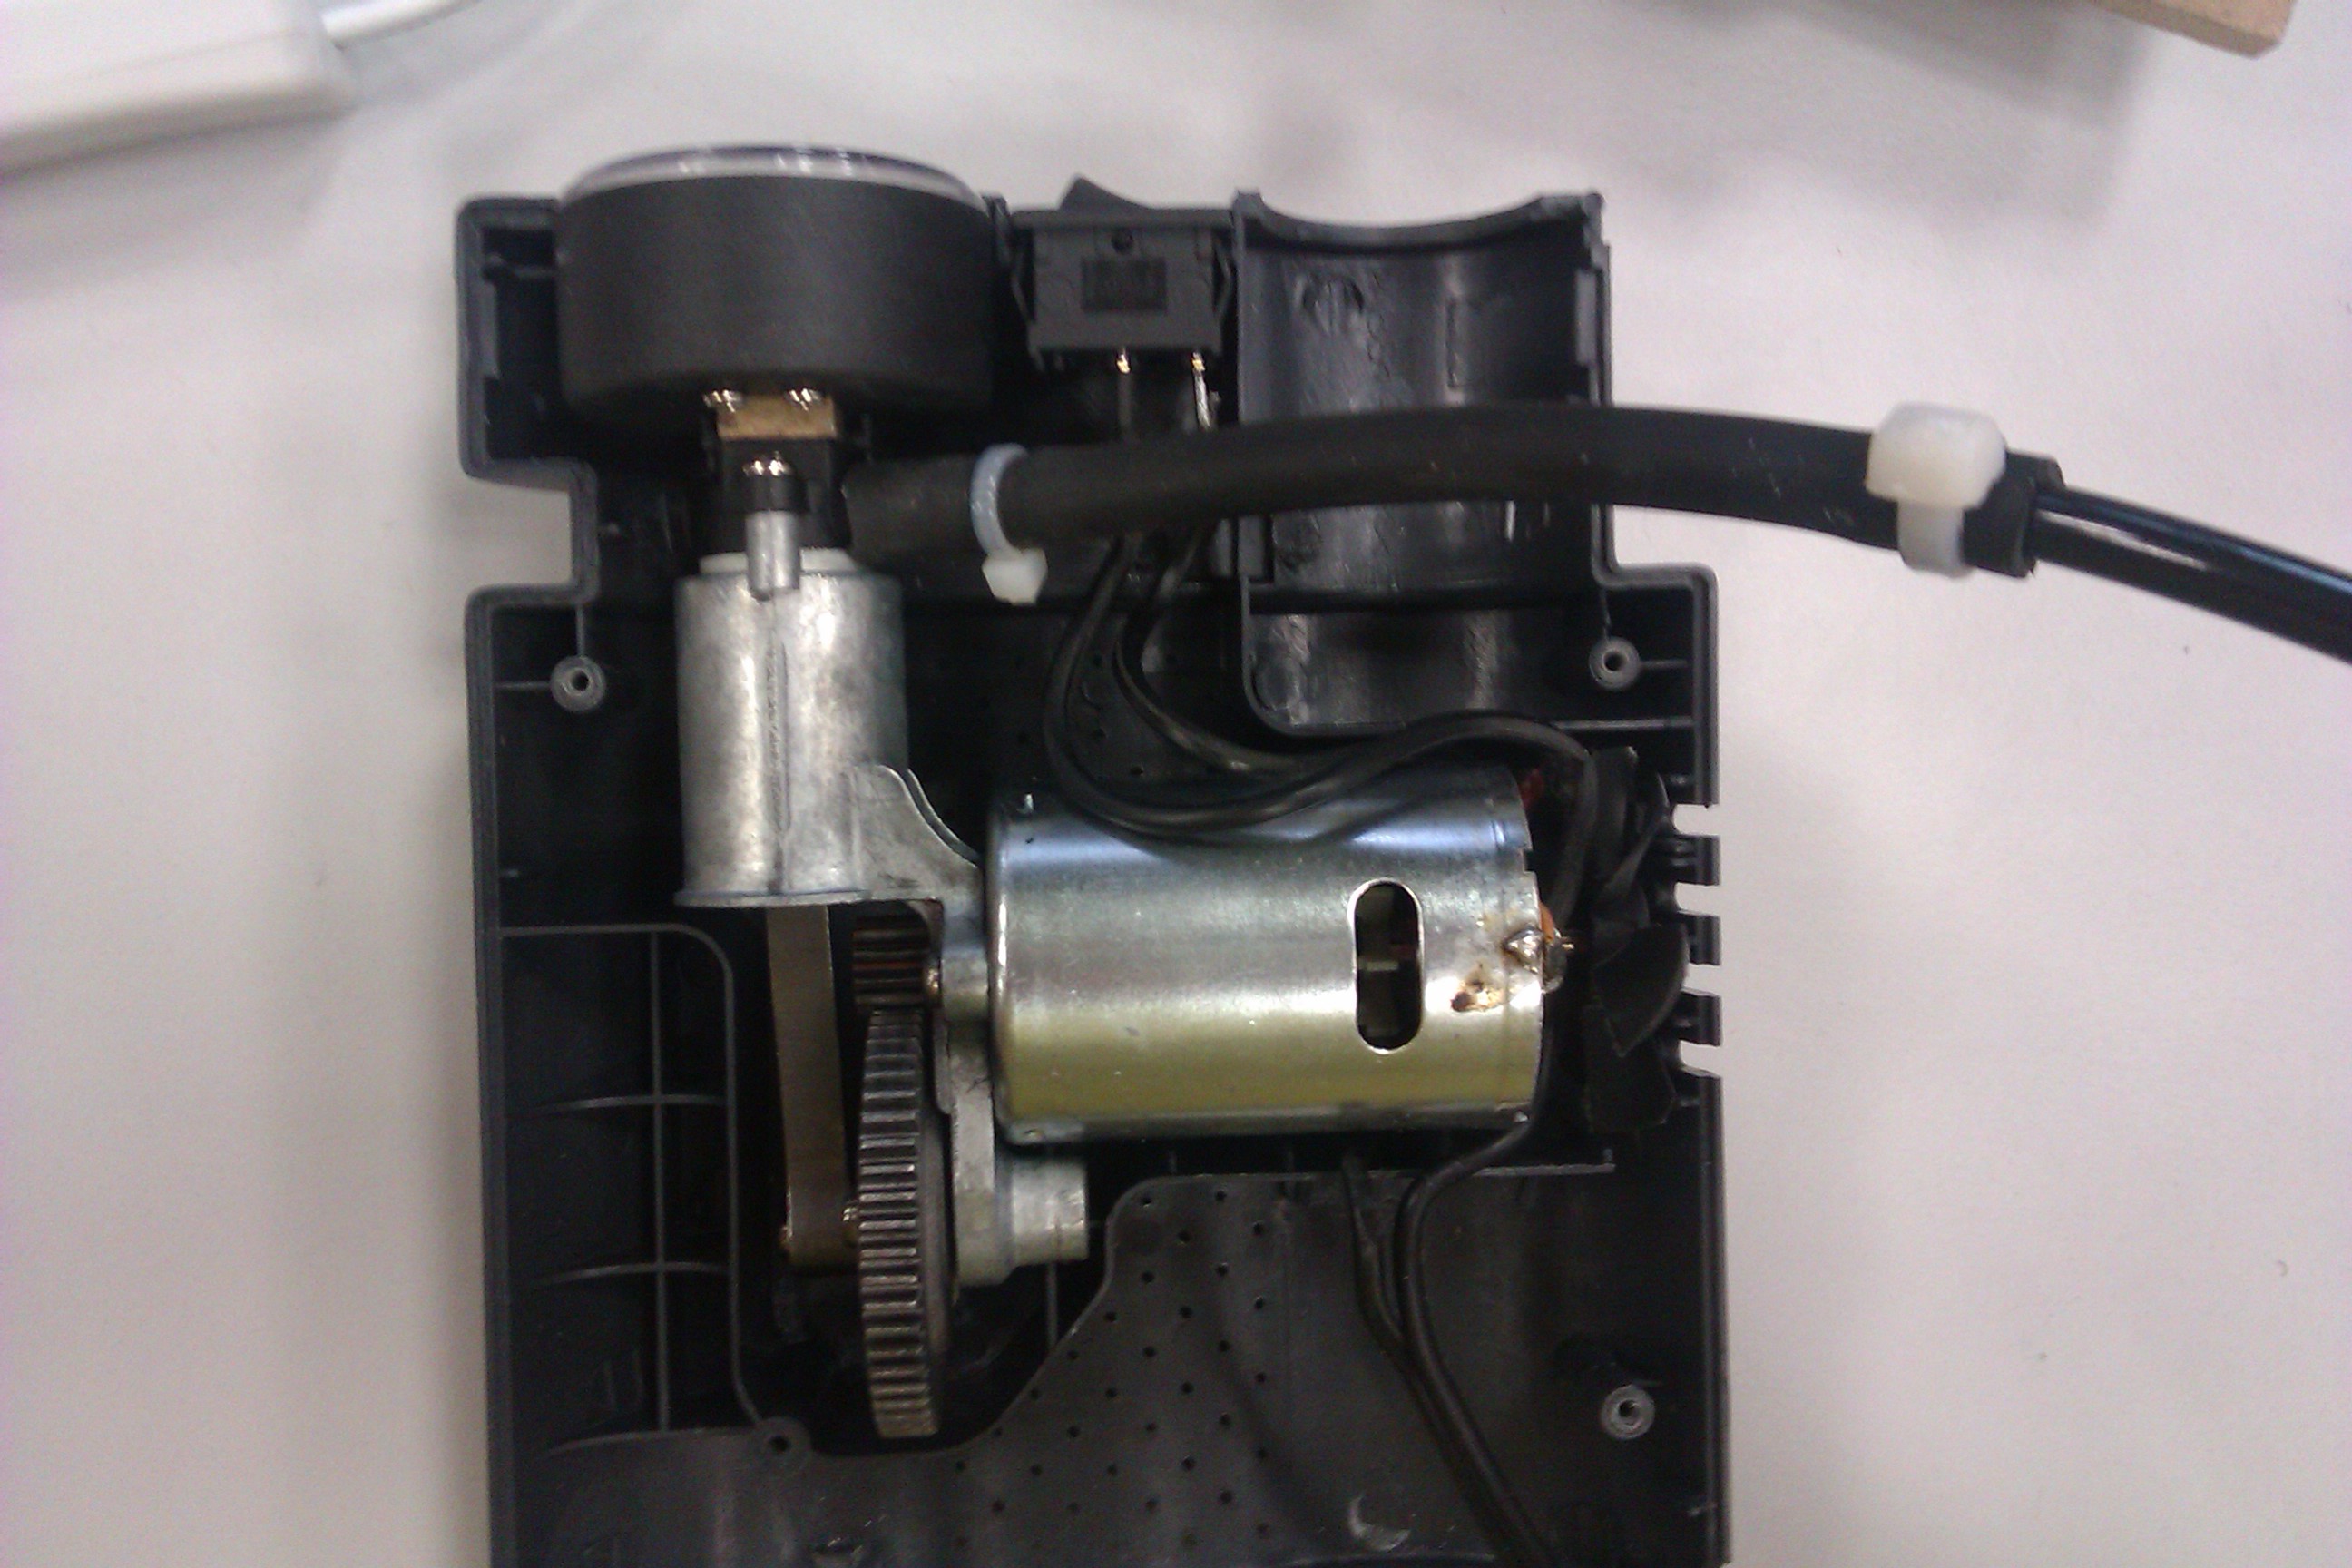
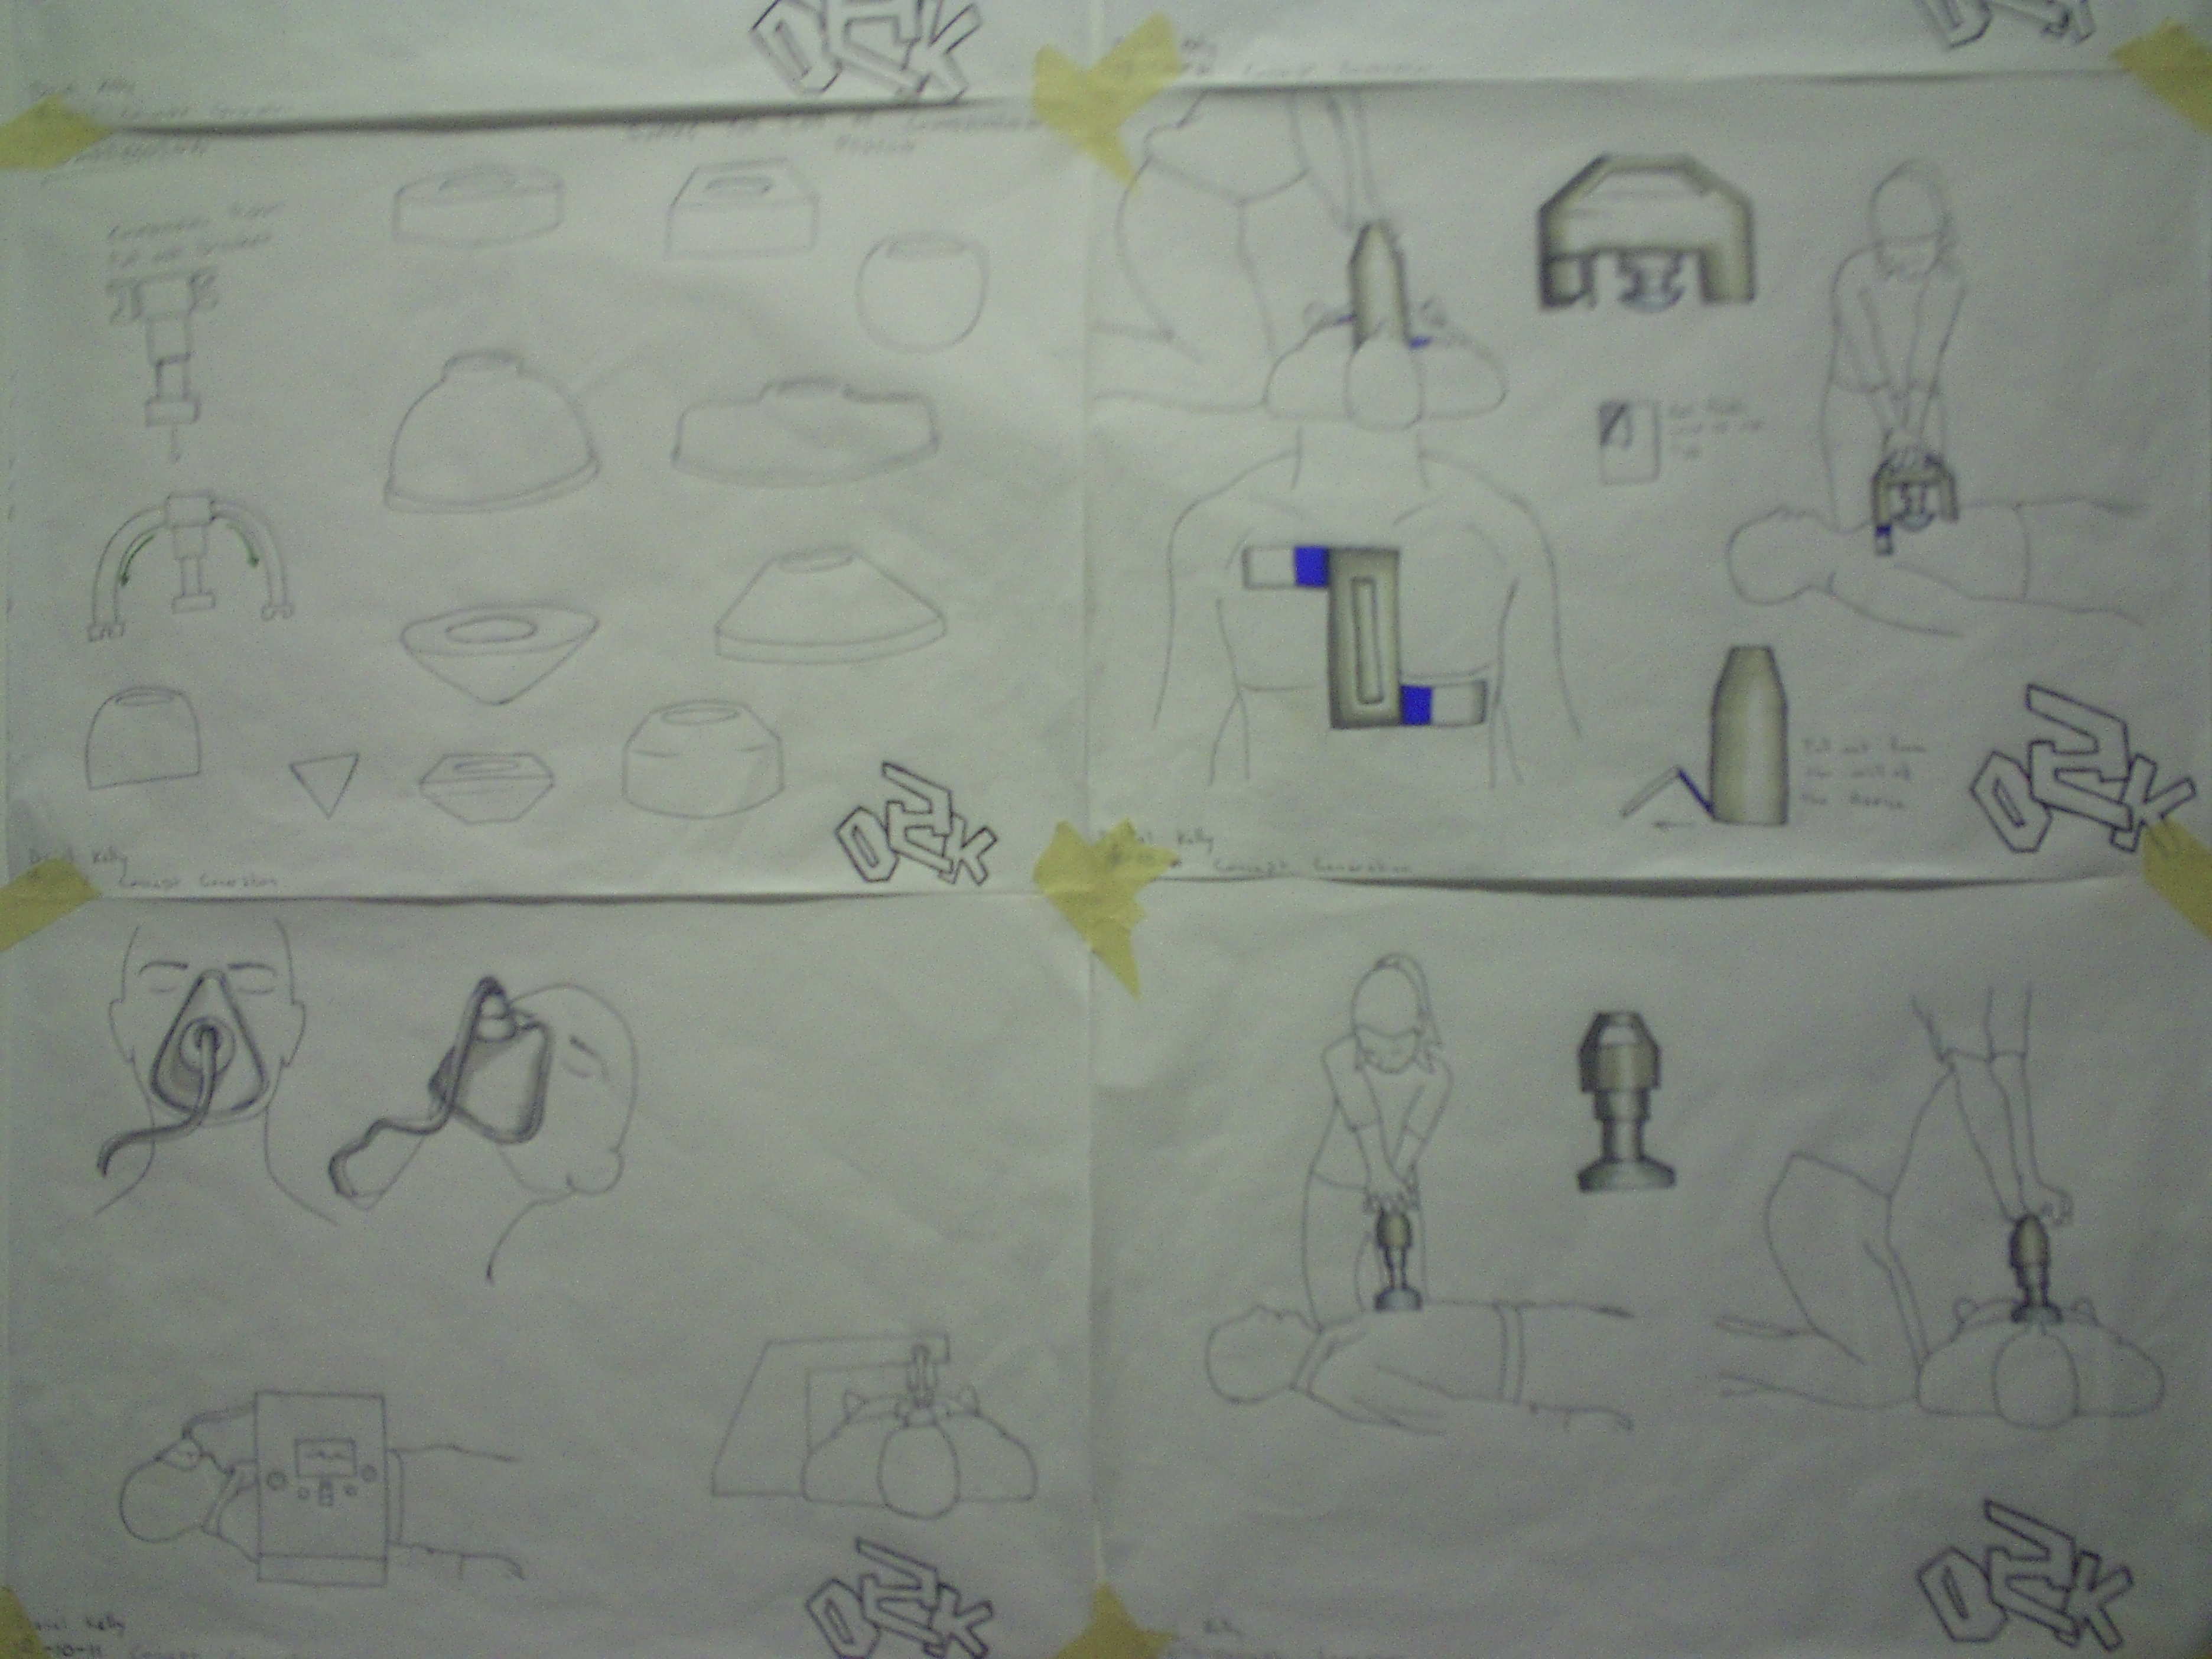
So when this new backboard was added I then needed to figure out a way to add the compression system to the backboard which took sometime and a few models to go through. I came up with an idea where if i had the compression system going vertical along the body that there would be 2 seperate pieces and a flexible connection so if the casualty was heavy set then it would overcome their big stomach and still lie on top of the patient. A couple of examples below..

Image Image Image

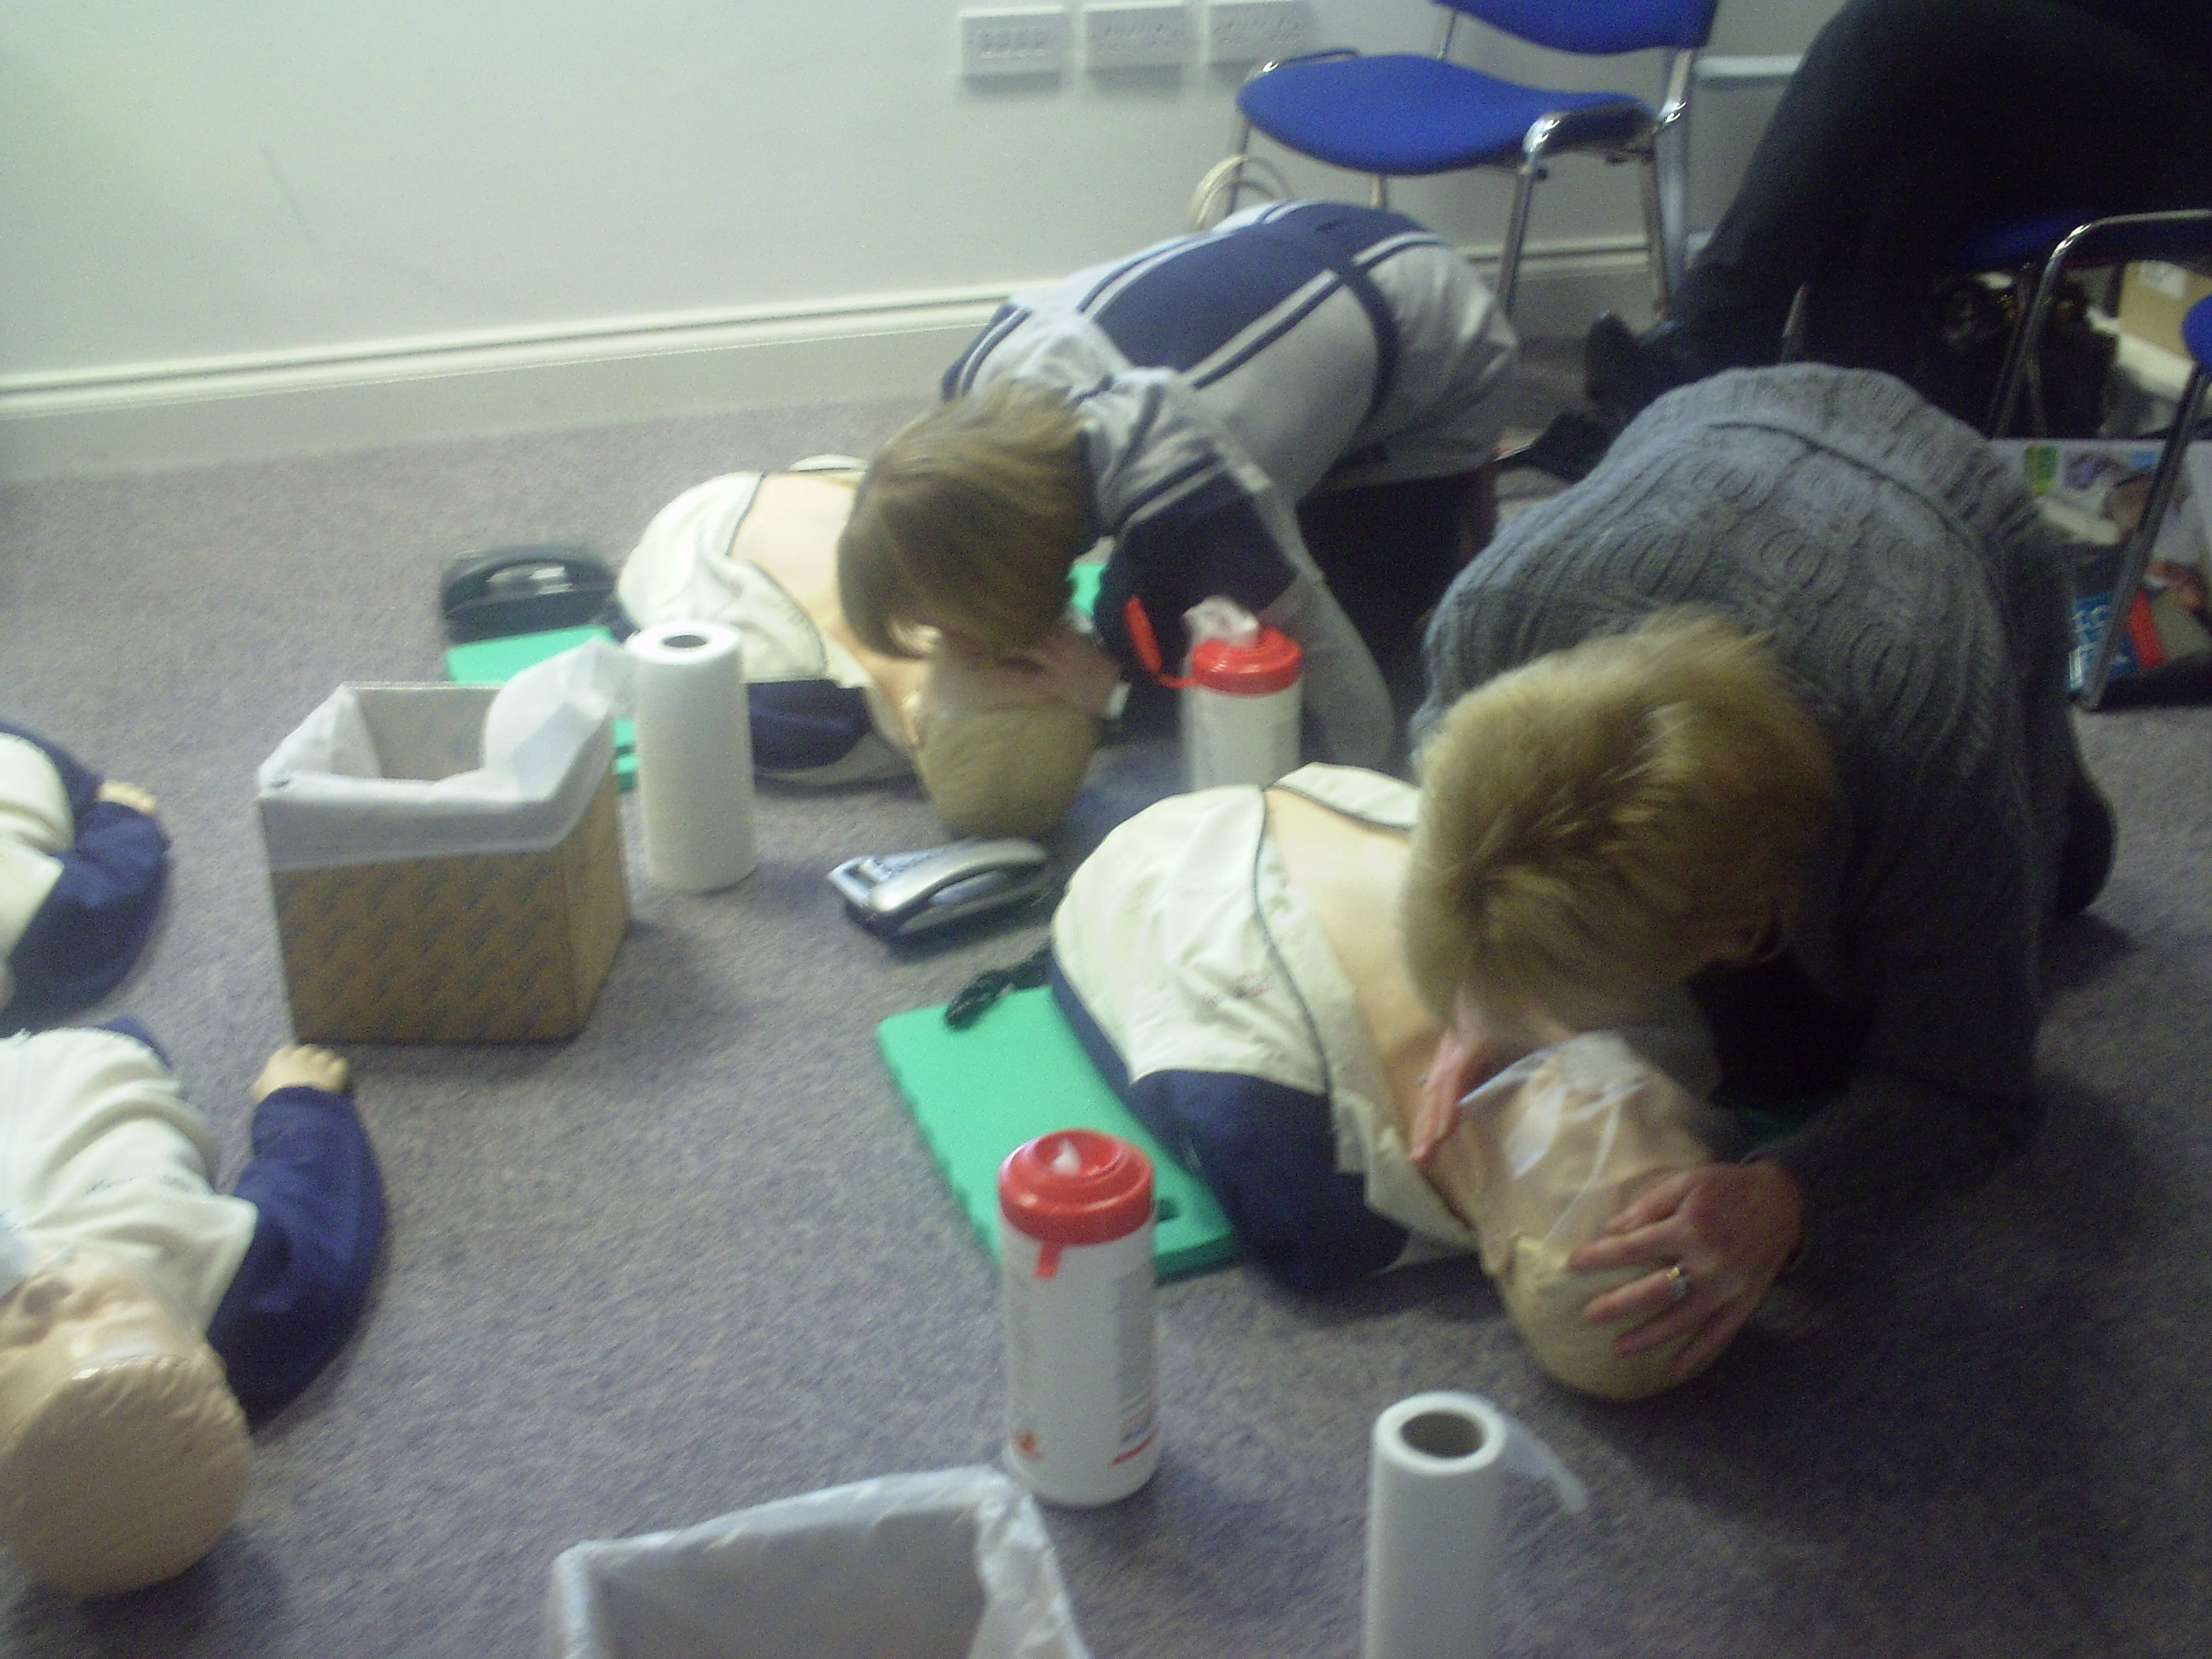
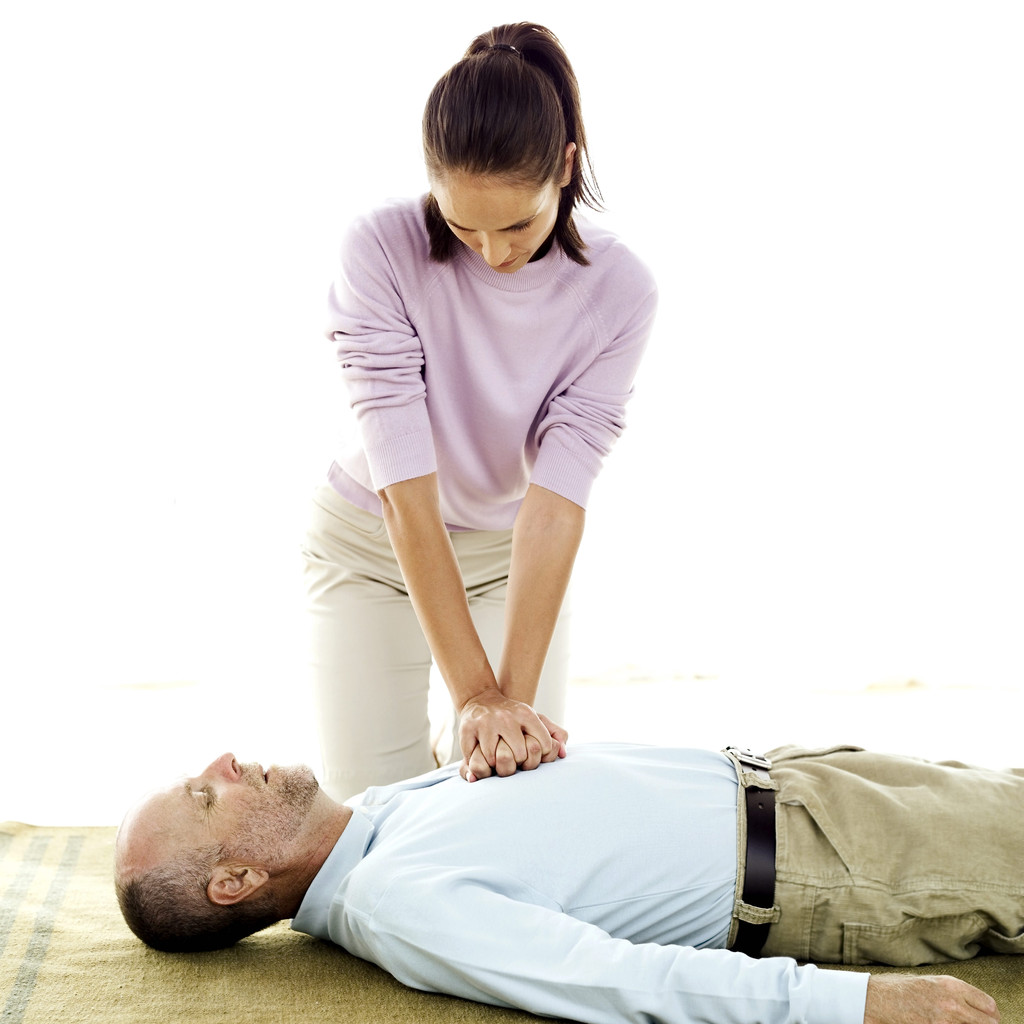
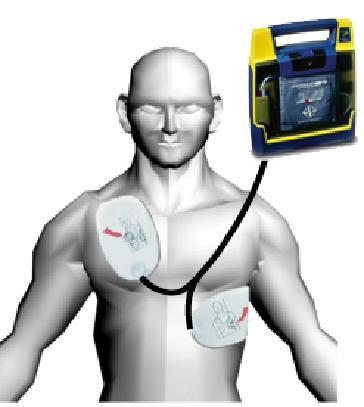
But then I started thinking that there was no reason that the compression device couldn’t lie down horizontally, and this was just much easier as there was no stomach getting in the way of the device, it would lie across the chest where all the areas I’m aiming to work on are placed. Compressions can still be made and AED pads can still be easily reached. And with this I went with a foldable design and by using belt straps they can be attached to the back rest..

Image Image

So to build my compression I first had to learn simple pneumatics, which was much easier than I thought. The way of thinking of air flow was quite similar to electric current, kind of. To build my pneumatic system I first needed a compressor, the way I was thinking was that I needed a small one so that it can actually fit into the product, I was able to buy a compact air compressor which is used to inflate tyres on eBay.Image

I then needed a piston with a 2″ stroke to simulate the compressions on the chest. To work the dual action cylinder I had to buy a solenoid to swith air flows, kind of the same way that train tracks work to switch routes. Next I had to get my hands on a volume tank (accumulator) and a regulator as well as all the fittings and air tubes to put it all together. I had to custom make the volume tank (which my dad did) which was basically attaching the fittings on to the walls of the tank as well as a catch valve to stop air flow from going back. The whole pneumatic system can be seen below..

Image

Image

Over the Christmas break I actually was quite busy building my first prototype andlearning simple pneumatics so that I could implemement it into my compression system.

For my prototype I used this software called pepakura, which is basically a software for building models out of card paper, where you can take your AutoCAD drawings and import it into Pepakura. Once this was done I then had to scale the files and print them out onto card paper. A tedious step of then cutting everything out and gluing tabs all together. A printscreen of pepakura in action can be seen below…Image

Once I had all the parts cut out on my model and put together, I then had to go through a process of using Fibre glass, bodyfiller and pollyfiller to reinforece and strengthen the paper model. When I had this all done I then painted it to show key points in how a person would interact with the model.. Building the first protoype took several weeks and as it was a rough prototype I didn’t smooth it down as much as I should have and the end result was slightly crude as can seen below..

Image

To finish the model I had to acquire AED pads, speakers, air tubing and breathing masks to tie it all together. The prototype itself resembled a Headrest and a compression box, where the use of this device can be seen in my storyboard in my previous posts

For my design the headrest is to simulate the head tilt-chin lift manouvre as well as providing rescue breaths, and the compression box will provide compressions to the casualty’s chest, with the speakers giving audio instructions on how to use the device through out the process.


Well seeing how I haven’t properly updated this blog since before christmas and with the blog review coming up, from now on I’ll be updating my blog throughout the week of what I have done over the christmas break and after up to now..

Story Board

In my previous post you are able to see my story board at the end of the presentation, this post is to go into more detail of my story board incase some areas were unclear to you: Story Board

This is the prototype presentation Prototype Presentation

Croí Visit

I went to Croí West of Ireland down in galway to get my training in CPR sand using an AED, on Wednesday 16th of November. I am now Certified to perform CPR for the next 2years. Below are just a few pictures of my visit.

Here is the link to my Concept Presentation which brings you through my final 3 concepts.


Concept Presentation Daniel Kelly 0848735

Well for the presentation I found it to be very helpful in feedback, i now know where I want to go in my concepts as well as knowing what I could have done better. My concepts to date were kind of focused on compressions really, but not only compressions but using a piston motion which I used in nearly every concept. So what I am going to do now is take a step back and look at the other aspects as well as compressions. So, I have broken down my concept generation into four sections; Compressions, Respiratory (Airway and Breathing) Defibrillation and Coaching. With my compressions section I want to look at different mechanisms as well as different ways of providing them, getting away from the piston. With respiratory I believe there can be a lot of scope in looking at how i can simulate the head tilt-chin lift manoeuvre as well as providing the rescue breaths. In defibrillation I am still looking into how I can incorporate the AED function. And, finally the coaching area I want to achieve a concept that will talk you through the process of CPR and achieving a training aspect as well.


Underlays

The following pictures are those that I have gathered for underlays so that I can be up to scale and have correct product generations.